Free Invoice Generator for Freelancers – Create Professional Service Invoices with Logo & Tax Details
Generate professional invoices for your freelance services online. Add your logo, GSTIN or international tax ID, detailed service list, preferred currency, and client details. Automatic tax calculation with instant PDF download – free and easy to use for freelancers worldwide.
Generate Invoice For Freelancers Online For Free
Billing Period Details
Tax Details
Item Details
Mode of Payment
Instruction Text
Receipt Bottom Text
Update title texts of Invoice Receipt
Payment Receipt
Service Provider's Name
Yari Road, Andheri
Bangalore Karnataka
Ph:+91 XXXX1 XXX1X1
Billed To
Sagar Commercial Complex
4th Lane Sidarth Nagar
Jaya Nagar Third Stage
Bangalore - 560004
Karnataka
Service Details
Free Online Invoice Generator for Freelancers
Our Invoice Generator for Freelancers is a simple and powerful free online tool that helps you create professional invoices for your services in just a few minutes. Whether you are a graphic designer, web developer, writer, consultant, photographer, or any other service provider, this app allows you to bill your clients quickly, accurately, and in a professional format.
This tool is designed to meet the needs of freelancers working in India as well as those in other countries. If you are in India, you can add your GSTIN along with applicable CGST, SGST, or IGST tax rates. If you are an international freelancer, you can enter your own tax ID and required tax rates according to your local laws. The app will handle all the calculations automatically, so you can focus on your work instead of worrying about billing errors.
Add Your Logo and Business Identity
A professional invoice with your logo makes a strong impression on your clients. This web app lets you upload your service or business logo so that it appears clearly on your invoice. This not only makes your invoices look branded but also helps you maintain a consistent business identity across all client communications.
Enter Your Business and Invoice Details
You can set your business or office address so that your clients have all your contact information in one place. You can also enter important invoice details such as invoice date, invoice number, and payment terms. These details make your invoice look more professional and organised.
Set Tax Details According to Your Region
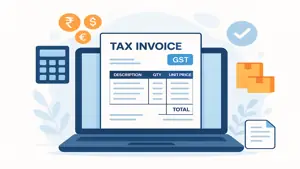
Indian freelancers can enter their GSTIN and select the applicable CGST, SGST, and IGST tax rates. Freelancers from other countries can enter their local tax ID and define their own tax names and percentages. The system is flexible and ensures your invoices comply with the tax rules of your country.
List Your Services in Detail
As a freelancer, your services might include multiple tasks or deliverables. This app allows you to list each service clearly with a description, hours worked or quantity, and rate. You can add as many services as needed, and the tool will automatically calculate the total for each line item along with applicable taxes.
Choose Your Preferred Currency
This tool supports multiple currencies so that you can bill international clients without confusion. Simply choose your desired currency, and all totals will be displayed accordingly.
Automatic Calculation for Accuracy
The app automatically calculates the subtotal, tax amount, and final total based on the services you’ve entered and the tax rates you’ve set. This eliminates the risk of manual calculation mistakes and ensures that your clients receive accurate invoices every time.
Set Client Billing Information
You can add your client’s details in the Billed To section, making it clear who the invoice is for. This information appears neatly on the invoice for easy reference by both you and your client.
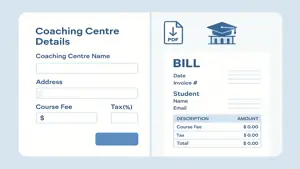
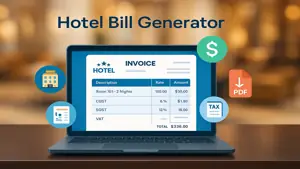
Download Your Invoice as a PDF
Once all your details are filled in, you can generate a professional invoice instantly. You can download it as a PDF for emailing or printing, ensuring it is ready to send to your client right away.
Why This Tool is Perfect for Freelancers
Our Invoice Generator for Freelancers is completely free, works on any device, and requires no complicated setup. It helps you save time, maintain professionalism, and get paid faster by providing clear, accurate invoices to your clients.
Start using the Free Invoice Generator for Freelancers today and experience how easy it is to create professional, branded invoices for your services with automatic tax and currency support.
